This guide contains affiliate links. We may earn a small commission if you purchase through our links, at no extra cost to you.
To debug plants before bringing them indoors, work five steps in order: inspect every hidden surface, rinse the whole plant with water, soak the pot to drive out soil dwellers, treat with insecticidal soap or horticultural oil and repeat on a schedule, then quarantine the plant for at least three weeks before it rejoins your collection.
All of it happens outside, before the pot crosses the threshold. Once a plant carrying a few aphids is standing in a heated living room next to everything else you own, you are no longer debugging one plant. You are managing an infestation.
This is the procedure half of moving your plants indoors for winter. The timing decision comes first, and it is covered in our guide on when to bring plants inside. Give yourself two weekends before that date: one for the wash and first treatment, one for the follow-up.
Why a Plant That Summered Outside Is a Different Animal
A plant that spent June through September on a balcony is not the object that went out in spring. It is carrying passengers, and it has carried them harmlessly all summer.
According to Illinois Extension, "Natural enemies will often keep pest populations in check when houseplants are outdoors. However, once we bring our plants indoors for winter, these natural enemies usually don't come with or don't survive." That is the whole causal story. Outdoors, predators, wind and rain hold a small aphid population at a small aphid population. Indoors, nothing eats anything.
The soil is its own problem. According to Clemson's Home and Garden Information Center, "Houseplants taken outdoors during the summer may have their root balls infested with pillbugs, millipedes, and slugs," and "Ants may also make nests within the potting soil of houseplants while outside." Clemson also names the route in: "A plant that has been outside for the summer, especially one sitting on the ground, may have pests that have crawled in through the drainage holes."
Then the conditions flip in the pests' favour. Warm, dry winter rooms suit spider mites, and a population that was invisible in August can be webbing by November.
Step 1: The Inspection Pass
Do this in bright shade with a hand lens, before any water touches the plant, because rinsing washes away the evidence you are trying to read. University of Minnesota Extension is direct about the scope: "Thoroughly examine all plant parts and containers before bringing them home from the store or indoors for the winter." All parts, and the container.
Work through these seven places in order:
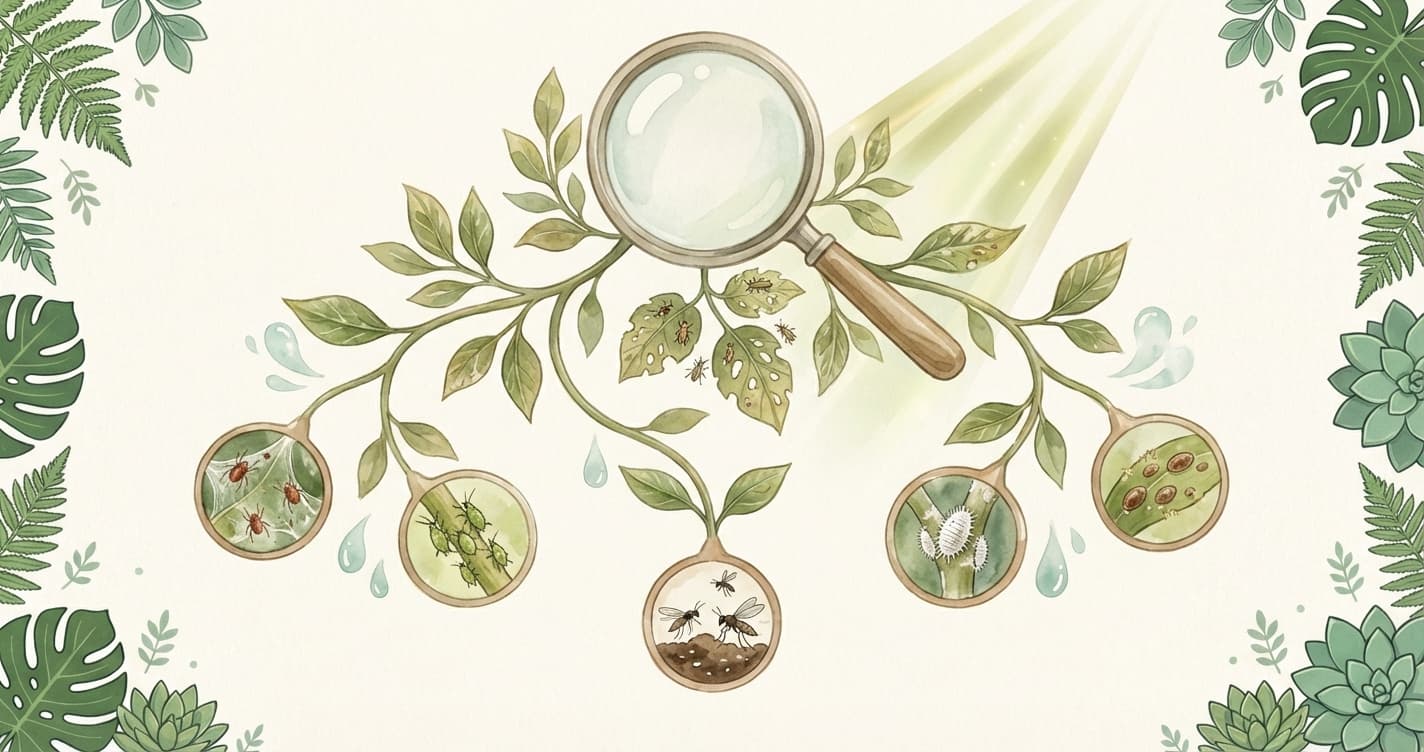
- Leaf undersides. According to Clemson HGIC, "Pay particular attention to the undersides of leaves, where pests are most often found." Stippling plus webbing is spider mites; pear-shaped clusters are aphids; white flecks that fly up when you brush a leaf are whiteflies.
- Leaf axils. Clemson notes that "Mealybugs are most commonly found on the lower surfaces of leaves and in leaf axils (where the leaf attaches to the stem)." Look for white cottony tufts where leaf meets stem.
- New growth. Soft tips and unfurling leaves are where aphids feed first.
- Stems and the stem-soil junction. Immobile brown or tan bumps that do not rub off easily are scale.
- The pot rim. Slugs and earwigs shelter under the lip during the day.
- The drainage holes. Ants running steadily in and out usually mean a nest inside the root ball rather than a passing visitor.
- Underneath the pot. Lift it. Pillbugs, slugs and earwigs on the damp ring of ground where the pot stood will move in with the plant.
If you cannot name what you found, our pest identification guide has the descriptions side by side. You do not need an identification to start the wash, but you need one to pick a treatment.
Step 2: Rinse the Whole Plant
Physical removal comes before any product. It is free, it carries no phytotoxicity risk, and it knocks the population down before you spend anything.
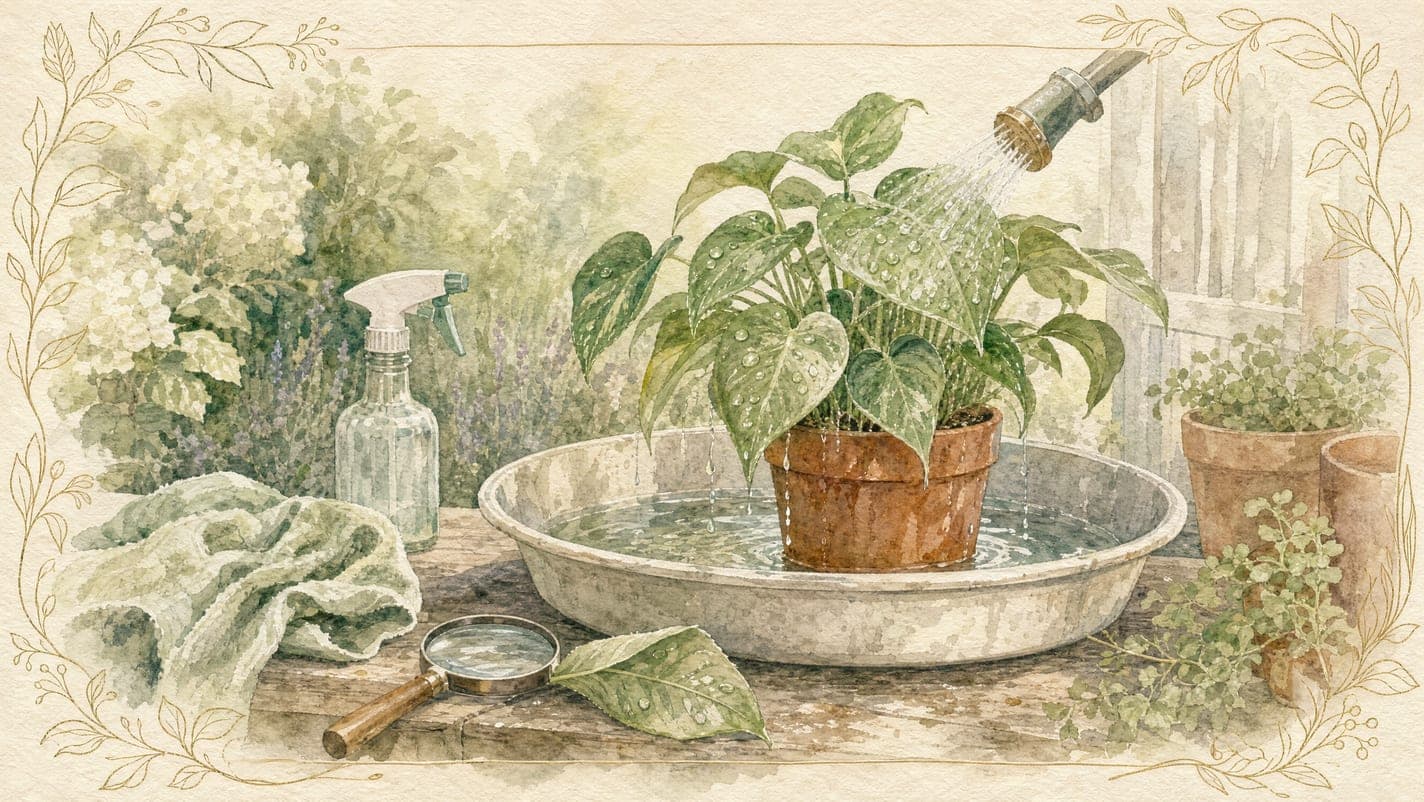
According to K-State Research and Extension, "A strong stream of water from a garden hose will often remove most of our insect pests from the leaves." Colorado State University Extension makes the same point: "Many household plant pests can be controlled, at least in part, by washing the plant periodically with a vigorous jet of water."
How we do it:
- Tip the pot slightly so runoff carries debris away rather than back into the soil.
- Spray upward into the canopy to hit undersides. This is the half most people skip, and the half that matters.
- Cover everything, including stems, petioles and the soil surface.
- Use a firm stream, not a jet. Fine fronds on a boston fern and soft new growth on a pothos tear under a pressure a jade plant shrugs off. Support the foliage with your free hand.
No hose, or an apartment with nothing but a bathroom? University of Minnesota Extension's answer is to "Spray large plants in a shower." Illinois Extension adds that "Leaves of plants can be wiped with a moist sponge or paper towel to remove insects and mites." Our leaf cleaning guide covers technique by leaf type.
Step 3: Soak the Pot to Evict Soil Dwellers
Rinsing does nothing for what lives inside the root ball. Submerging the pot does.
According to K-State Research and Extension, "soaking the pot in warm water for 15 minutes should handle any insects in the soil." Ants, pillbugs, millipedes, slugs and earwigs either float out or climb out.
- Fill a bucket or tub with room-temperature to warm water, deep enough that it sits above the soil line, not level with it.
- Lower the pot in slowly. Escaping air pushes a surprising amount to the surface.
- Leave it 15 minutes, then skim off anything floating.
- Drain completely. Let the pot drip freely for an hour or more before it goes on a saucer.
The risk is waterlogging, and it is real. A root ball that stays saturated starts to rot, and rot is a worse winter problem than a few pillbugs. Do not soak a plant already sitting in soggy soil, do not soak succulents or cacti you have deliberately dried down for the move, and never return a soaked pot to a cachepot with no drainage. Count the soak as that plant's watering for the week.
Soaking also floods the top inch or two of soil, where fungus gnat larvae are usually found (Purdue Extension puts the larvae within the top 1 to 2 inches of the growing medium). It will not clear an established population on its own, but a soak plus a proper dry-down afterwards puts you ahead.
Step 4: Treat with Insecticidal Soap or Horticultural Oil
These two are the low-toxicity workhorses for this job. The reason they work is also the reason people fail with them: both are contact-only.
According to Colorado State University Extension, insecticidal soaps "kill insects by disruption of cell membranes, causing the insect to die from rapid dehydration," and "Soaps and detergents act strictly as contact insecticides, with no residual effect." Oil gets there by a different route: University of Maryland Extension describes it as something that "suffocates - blocks breathing pores" with "a very limited residual activity," and Clemson HGIC puts it plainly, "Oil-based insecticides control soft-bodied insects by smothering them."
That has two consequences you cannot design around.
Coverage is everything. CSU Extension: "To be effective, sprays must be applied directly to and thoroughly cover the insect targets. This usually means spraying undersides of leaves and other protected sites." UMD says the same for oil, to "coat all bark or leaf surfaces (upper and lower)." Spray until it drips, from below as well as above.
One application is rarely enough. With nothing left behind once the spray dries, eggs hatching tomorrow emerge onto a clean plant. CSU Extension advises that "Repeat applications may be needed at relatively short intervals (four to seven days) to control certain pests, such as spider mites and scale crawlers." Plan on two or three passes across the fortnight before the move.
CSU notes soap sprays "are effective against small, soft-bodied arthropods, such as aphids, young scales, whiteflies, psyllids, mealybugs, and mites." A ready-to-use insecticidal soap or horticultural oil is simplest, because the dilution is already correct.
Follow the label, and mind the conditions. Clemson HGIC lists the conditions under which soaps and oils can damage plants: water-stressed plants, temperatures above 90°F, spraying in direct sunlight, and high humidity that slows drying. Clemson's tighter set of restrictions, given specifically for horticultural oil sprays rather than for soaps, adds not applying below 45°F or when rain is forecast within 24 hours. University of Maryland Extension sets a tighter ceiling for oil, saying "Do not apply during temperatures above 85° F because the phytotoxicity risk is high," and "Do not treat drought-stressed plants - irrigate their root zones and give them several hours or days to rehydrate first." In practice: an overcast morning or evening shade, on a plant you watered the day before. Test one leaf and wait 24 hours first, because Clemson warns that "Soaps and oils can damage plants if applied under unfavorable conditions or to sensitive species."
On neem, know what you are buying. According to Clemson HGIC, "Neem oil and azadirachtin are derived from the neem tree (Azadirachta indica) but differ in composition and mode of action." Neem oil products work "primarily as contact insecticides, repellents, and feeding deterrents," while azadirachtin products act "primarily as insect growth regulators (IGRs) by interfering with molting and the development of immature insects." Clemson adds that repeated applications may be necessary because azadirachtin affects immature stages and feeding behaviour. Neem is not a knockdown spray. Our pest control guide covers treatment choice by pest.
Step 5: Decide Whether to Repot
Swapping soil removes the habitat rather than treating it, but it asks a plant to grow new roots exactly as light and day length collapse.
Repot if ants are nesting in the root ball, the pot sat directly on soil or mulch all summer, you turned up slugs or pillbugs underneath it, or the plant was due anyway. University of Missouri Extension's fungus gnat protocol is to "Remove and discard growing media, and repot in sterile media."
Skip it if the plant was repotted this spring, the root ball is dense enough that disturbing it means real root loss, or the plant is already stressed. Scrape off and replace the top inch or two of soil instead: that removes surface debris and gnat larvae without touching the roots.
If you do repot, do it before the treatment sprays rather than after. Our repotting guide has the technique.
Step 6: Quarantine Before Anything Joins the Collection
Assume you missed something, because you did. Eggs are small, and a mealybug tucked into a leaf axil survives a rinse.
According to Colorado State University Extension, "New plants should be placed in quarantine in a separate area of the household for at least three weeks." We treat returning summer plants exactly like new plants.
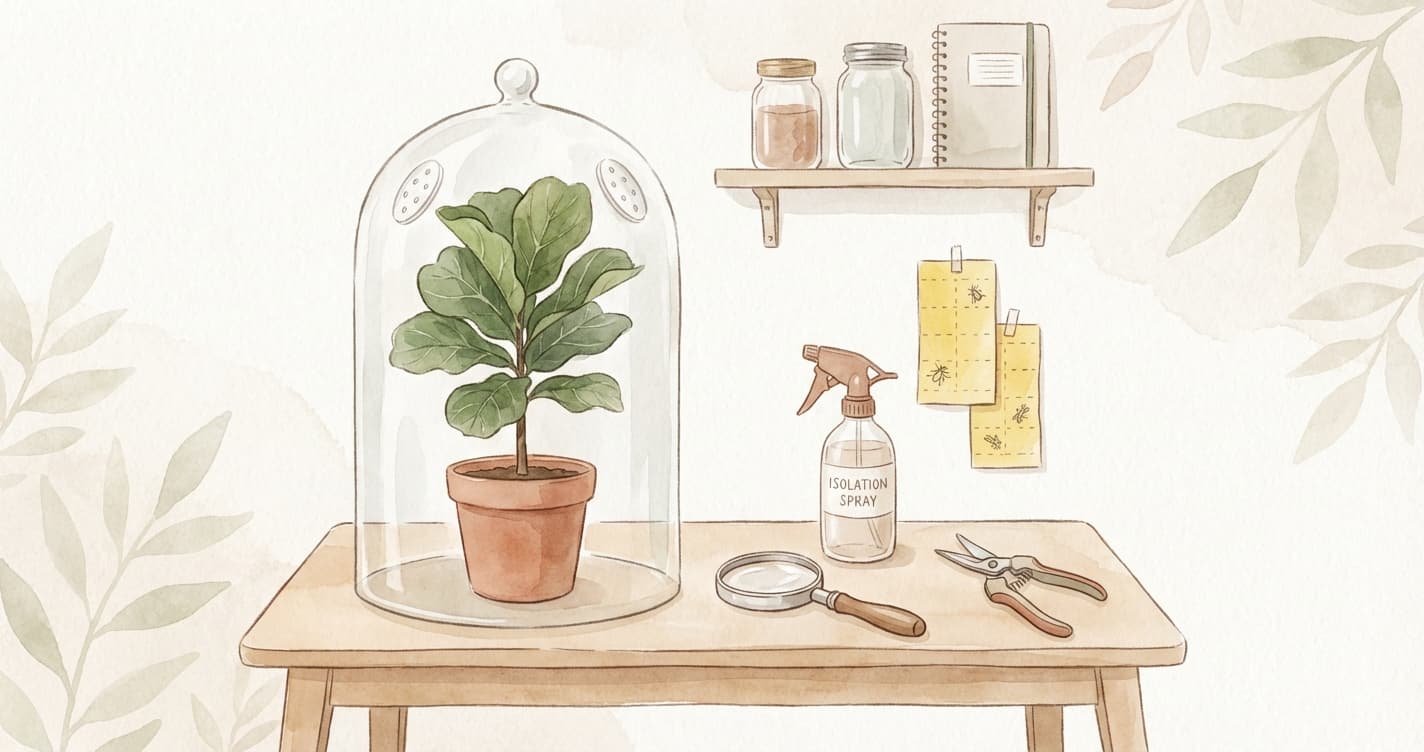
No spare room is not a reason to skip it. Separation and inspection matter more than distance. A bathroom with a window, the far end of a kitchen counter, a shelf on the opposite wall: any of those give you what quarantine actually provides, a fixed place you check on purpose with no leaf-to-leaf contact. Spider mites and mealybugs crawl to spread, so touching foliage is an easy bridge between pots. Leave air between pots and water the quarantined plants last.
During those three weeks, inspect undersides weekly and hang monitors. University of Minnesota Extension advises to "Use yellow or blue sticky traps to detect flying insects like whiteflies, fungus gnats, winged aphids and thrips." A few yellow sticky traps at soil level turn an invisible problem into a countable one. Our pest quarantine protocols lay out the checking schedule.
Quarantine is also when the light change happens. Acclimating plants from outdoor to indoor light runs over the same few weeks, and some leaf drop then is adjustment, not infestation.
What Not to Do
- Do not substitute dish soap for insecticidal soap. Colorado State University Extension states that "Homemade soap solutions are not recommended for insect control." Dish detergents are formulated to cut grease, not to be safe on leaf tissue.
- Do not treat once and call it done. With no residual activity, a single spray kills what it touched and nothing else.
- Do not bring the plant in and treat it later. Later means the pests get a warm week with no predators first.
- Do not spray in full sun or on a wilting plant. Clemson lists direct sunlight and water stress among the conditions to avoid.
- Do not spray only the tops of leaves. These products are coverage-dependent, and the pests are underneath.
- Do not exceed the label. A stronger mix does not work faster, and it raises the risk of leaf burn.
FAQ
How do I bring plants indoors for winter without bugs? Run the sequence outside: inspect, rinse, 15-minute pot soak, treat with soap or oil with complete undersides coverage, repeat on the four-to-seven-day interval CSU Extension gives, then quarantine at least three weeks.
How long before bringing plants indoors should I treat them? Start about two weeks out. That leaves room for the wash plus two follow-up treatments inside CSU Extension's four-to-seven-day repeat window.
Do I have to repot plants before bringing them inside? Not routinely. Repot when the soil itself is the problem: an ant nest, visible soil dwellers, or a pot that sat on bare ground. Otherwise replace the top inch or two of mix and leave the roots alone.
Is dish soap a safe substitute for insecticidal soap? We would not use it. Colorado State University Extension says outright that homemade soap solutions are not recommended for insect control. Registered insecticidal soaps are tested on plants at a known concentration. Dish detergent is neither.
I already brought the plant in and now I see pests. What now? Move it out of the room and isolate it, which Clemson HGIC calls the first step in control. Take it to a shower for a firm rinse, then start the treat-and-repeat cycle, and inspect every plant that stood within touching distance.
Your Saturday Checklist
Roughly two weeks before your move-in date, in order: inspect the seven hiding places, rinse the whole plant including undersides, soak the pot 15 minutes and drain it fully, settle the repot question, treat with soap or oil in the shade, and mark the calendar for the repeat spray four to seven days out. Then quarantine for three weeks.
One afternoon against a winter of spider mites is not a close call. To plan the rest of the move, work through the full guide to bringing plants inside, and see our seasonal pest management guide for what to watch once everything is inside.